
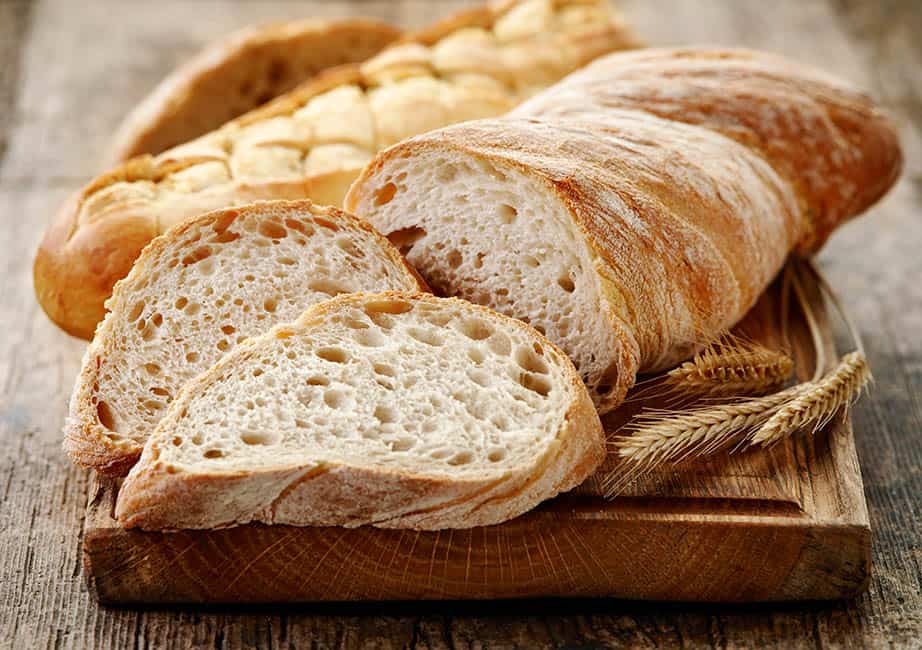
Bread making is really satisfying, and the smell of dough baking over winter is so comforting. But, how do you proof dough in winter?
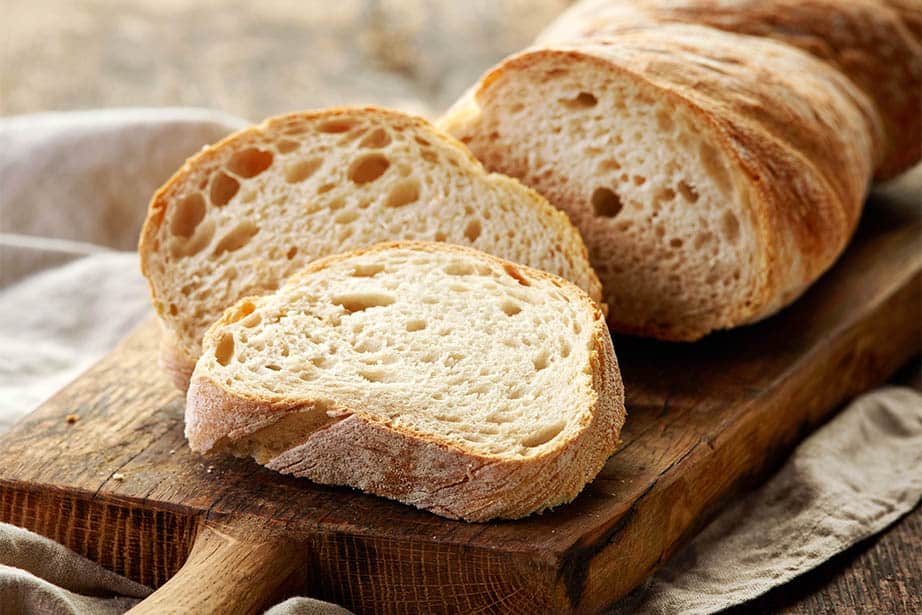
Yeast is the active rising agent in bread and this living organism likes a warm humid environment. So proofing bread in winter can be a challenge!
Once we understand how to create the ideal bread microenvironment, the breadmaking process becomes much simpler and quicker. You can employ these quick proofing methods in summer, to get an even quicker proofing time.
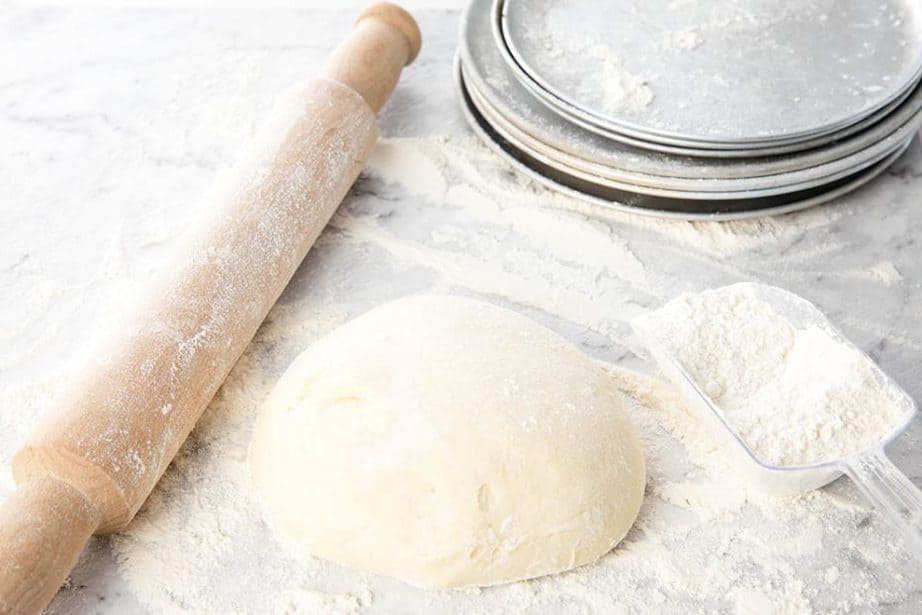
Tips to Speed up Dough Proofing
- Always use warm water or milk in the dough. 37.5 degrees Celsius or
- Prime the yeast 5 -10 min prior to commencing the breading making. (See priming technique here)
- Cover the dough and ferment in a warm sunny place away from draughts like a window.
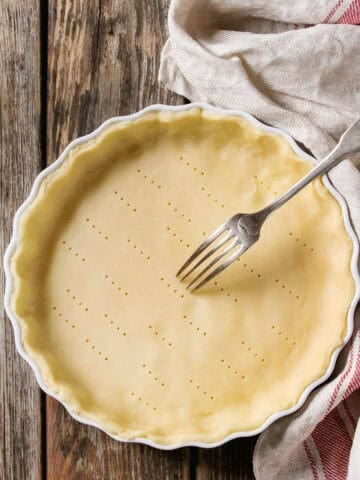
- Cover and place the bowl of dough in a sink of warm water.
- Turn the oven on to its lowest setting 50 degrees Celsius. Once heated turn the oven off and place the bowl of dough in the oven (covered) Close the oven door.
- Place the covered dough in the car and par the car in the sun
- Place a bowl of water in the microwave. Heat for 2 minutes. Push the hot water to the side and add the covered dough to the microwave. close the microwave door so that the steam from the hot water heats the dough.
How long do you need to Proof Dough?
This is a difficult question to answer as there is no set length of time. The time of the proof depends on the microenvironment which has been provided to the yeast. You will know the dough is sufficiently proofed when it has doubled in size and looks soft and airy. This may occur quickly in warm temperatures or more slowly in cooler temperatures. You need to always ensure that the dough is proofed sufficiently in the first and second proofing to make a successful yeast-based product.
Dough Proof Note
Even though I am outlining techniques to proof dough quicker, the tastiest doughs are those which proof slowly. It may appear that your dough isn't active in the colder temperatures but it will still proof. It will just be slower. If you have time to wait for the process to occur naturally you will be rewarded with a nicer tasting end product.
Yeast Watchpoint
- Avoid letting the dough reach above 45degrees celsius or 110 Fahrenheit as the temperatures will kill the yeast.
Would you like my no-fail basic bread recipe? This is my go-to bread recipe. It's simple and requires no real effort if you have a Thermomix or bread maker. Enthusiastic breadmakers can even try the recipe by hand kneading the dough.
Let's Connect!
I share loads of great recipes on the website, but those who find out first are my special newsletter friends. You can even choose your favourite topics!
I also have a lively social community. Take a look at the Facebook Group page. It is a fabulous place to ask questions, join the chatter, and share images of recipes you have made! It helps inspire others to cook new and interesting dishes.
If you want more Magimix, Optimum or Thermomix recipe ideas or information, please follow the ThermoKitchen FB Page. I post everything I know here first!
GET INSPIRED;
FACEBOOK
TWITTER INSTAGRAM PINTEREST YOUTUBE
Very Important!
It is super important not to attempt to cook the loaf of bread until it has reached its full size. It won't continue to rise in the oven. So if your dough hasn't reached the height in the tin that you would like the finished loaf to be please don't cook it yet. Cooking the dough too early will result in a heavy, dense loaf which won't be pleasant to eat.
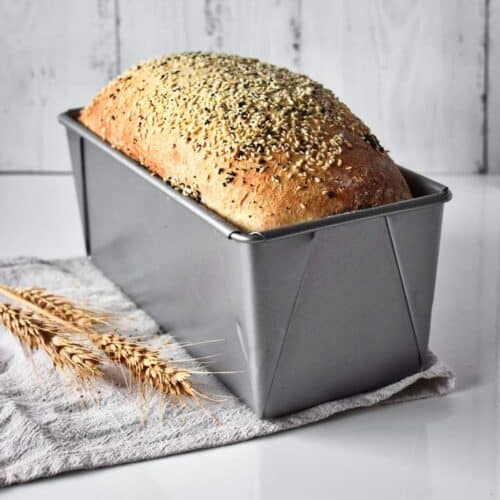
How far should the dough proof in the bread tin?
When you first put the dough in the tin for the second proof it will be very small in the tin. It will probably only take up half the space in a tin like the one below.
If you're making a square sandwich loaf using a bread tin lid you need to leave the dough to proof until the bread is one centimeter below the top of the tin. Once it has reach this level you can add the lid and bake the loaf.
If you are making a high top loaf as pictured below you need to allow the dough to proof longer. The dough will need to reach at least 2-3 centimeters over the top of the tin before it is baked.
I hope you have enjoyed this story. Feel free to leave a comment or start a discussion. If you have made a dish from this site, I would love to know what you thought!
Leaving a comment and a star rating helps others decide if they should try my recipe. Plus, if you hit the social media share buttons, your friends may find a delicious new recipe or Thermomix Tip too!
If you want to be notified when a new recipe is released, sign up for my monthly newsletter. The form is also in the footer!
Thank you for stopping by,
Happy Cooking
j xx

Link Disclosure
From time to time I recommend kitchen products and ingredients. These are always items I use and love! When I share a link to a product you can rest assured that I have tested the item and genuinely love it! If you follow my link and purchase the item in some cases I will receive a commission for the referral.
Whilst the commission may only be $1 or so, I value your support, and I take your trust very seriously.
By clicking on my link, or selecting my name "Julie Carlyle" as the referer you reward me with a small commission that helps support me and this website.
Your support keeps me cooking!


Mark Donachy says
Great idea Monica, I dont have a Thermomix, but I do have a slow cooker. Inspired......
Thanks, im off to switch it on now 😀
Monica Brinkman says
Turn your slow cooker to low and invert lid. Place a towel over lid and place dough on top of towe.
Huis Marckus says
I place the Thermie kneaded dough into the Varoma dish with the cover on and place the whole Varoma dish on top of a bowl of just boiled water. You can place the dish on the therma dish if you have one.
Julie Carlyle says
Great Idea Huis!
I will try this method too!
Thanks for sharing x
J