
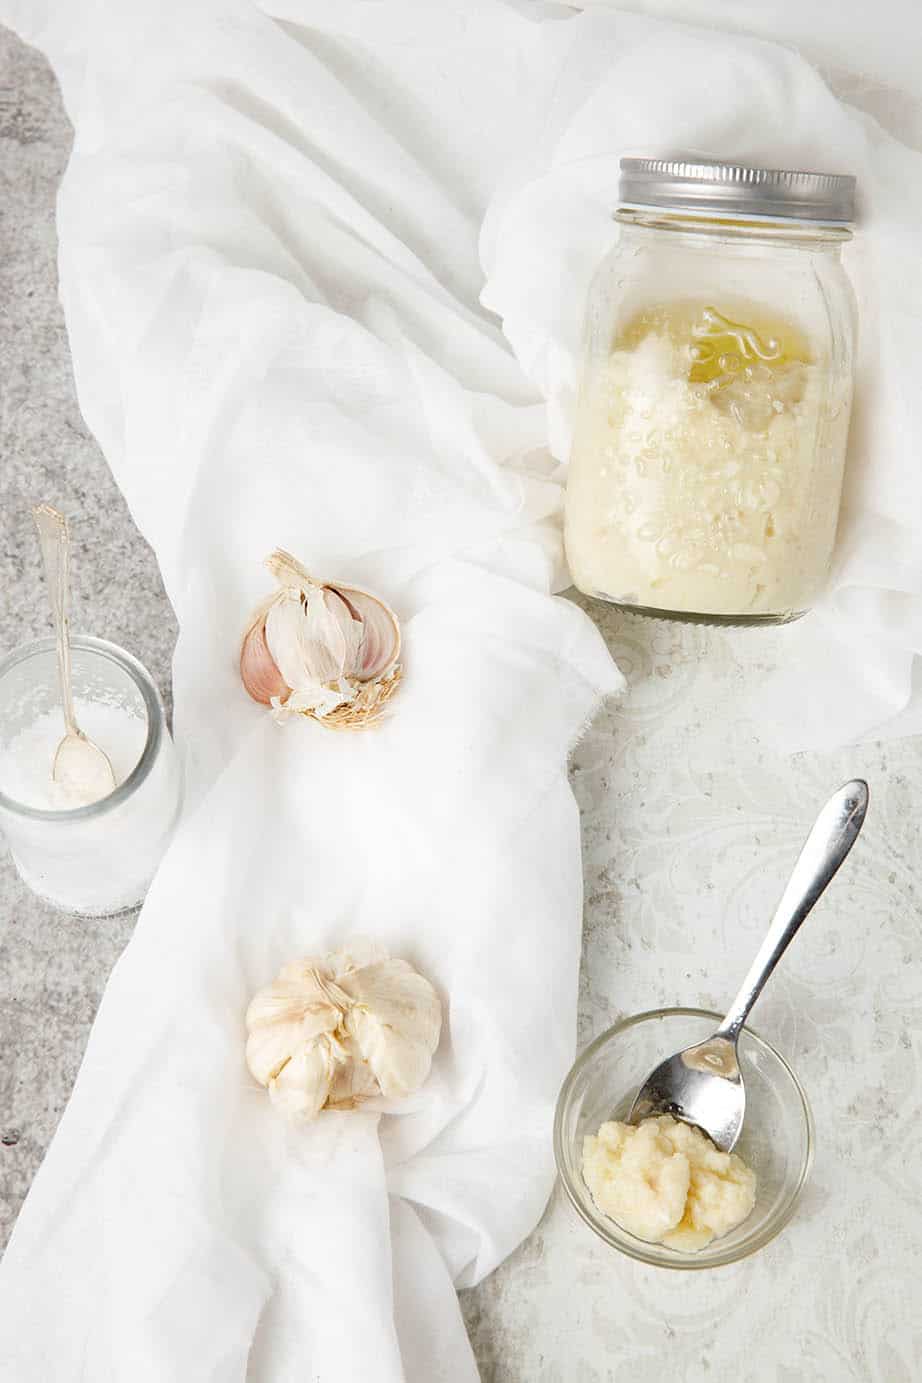
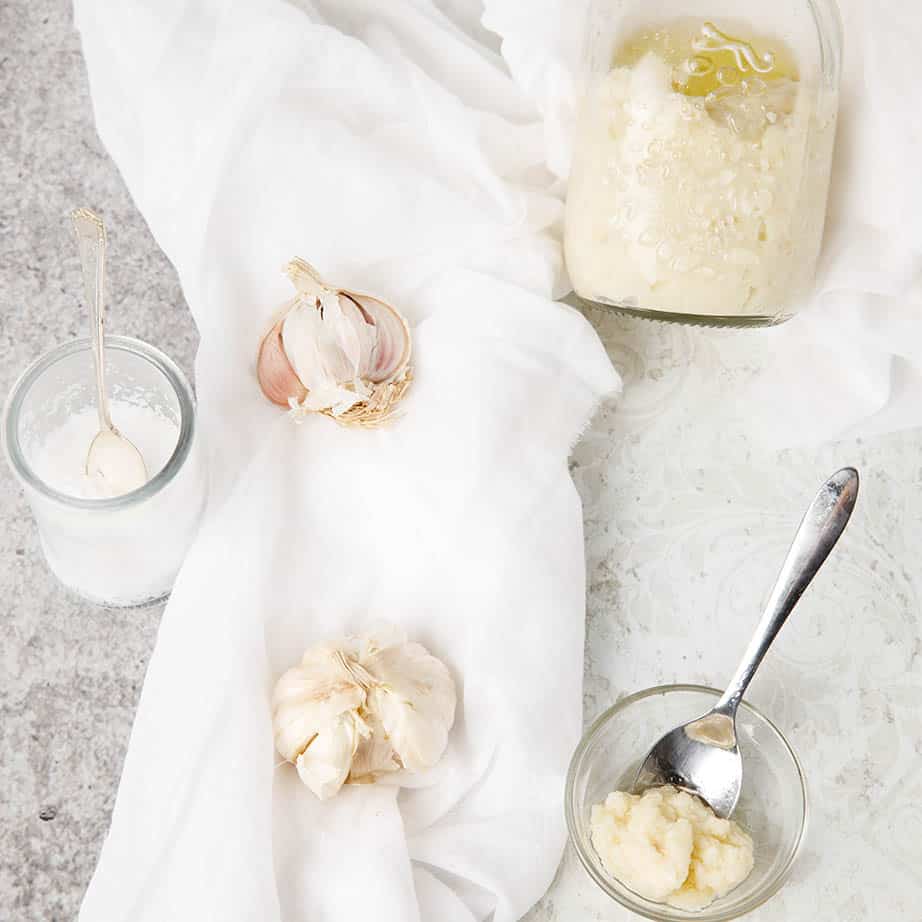
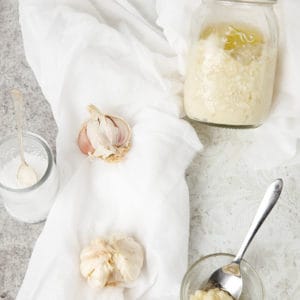
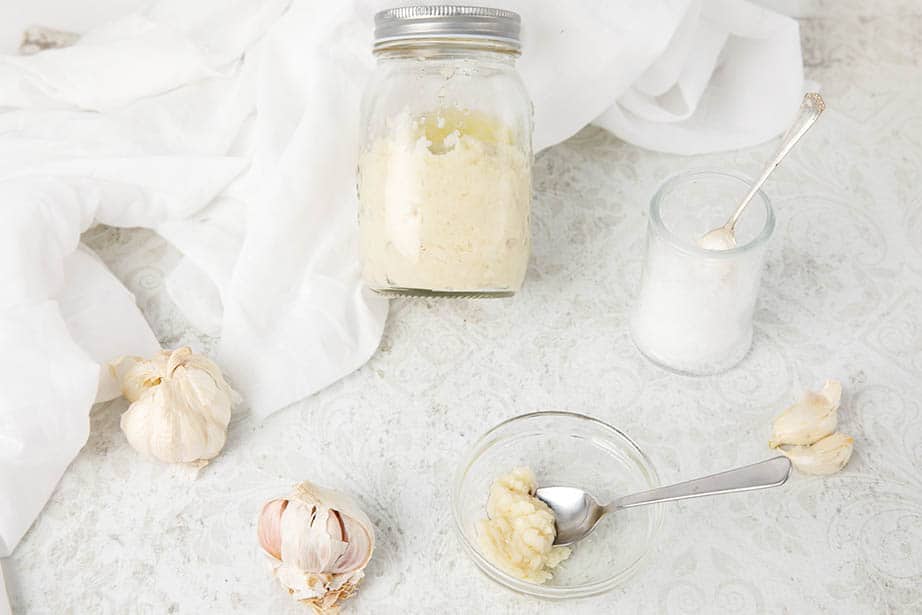
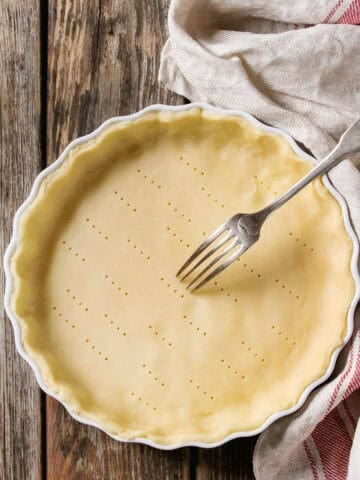
Homemade garlic paste is so easy to make in the Thermomix or food processor. Have a jar on hand to add a garlicky kick of flavour to your favourite dishes.
 Have you ever bought a jar of crushed garlic in the hope of avoiding peeling garlic for recipes?? I did... once, a long time ago. It tasted so gross that it's probably still in my fridge!! I have no idea how the manufacturers of garlic paste can make a natural and delicious product taste so bad!!
Anyway, we use a lot of garlic in cooking so I peel loads of garlic every day. When we were in India doing research for my Indian cookbook I attended many home cooking classes. I noticed that every kitchen had a pre-made jar of garlic paste and another of ginger paste in the fridge. Some kitchens even had a third jar which contained a mix of garlic and ginger!
These pastes were all made at the beginning of every week. Thankfully we don't go through quite as much garlic as the Indian chefs! I only make my paste periodically as it keeps in the fridge for weeks.
This is a very simple recipe as it contains just garlic, salt and oil. To vary how much paste you make there is a slider in the recipe. So if you think this is too much garlic paste for your family feel free to reduce the quantities.
Let's Connect
Don't forget to tag me on social media if you make any Thermokitchen recipes! I love connecting and seeing your pictures. #Thermokitchen
For more for delicious Thermomix recipe inspirations I would love for you to FOLLOW ME on;
FACEBOOK
TWITTER INSTAGRAM PINTEREST
Garlic Paste Recipe Guide
Hey lovelies, I put together a quick video to highlight an option for peeling garlic. You will find it in the recipe card. It's not perfect by any means but when you have 6 or so bulbs of garlic to peel I think it's worth a little bit of peel in the paste. I tend to only use this method for peeling large quantities of garlic, but you can reduce the blade speed and peel a smaller quantity. Just take a look at the guide below.
To peel a large number of garlic bulbs
- Separate the garlic cloves from the bulb and discard any loose peel.
- Place all the garlic cloves in TM bowl. 5sec/Speed 5 Reverse Blade.
- Remove the visible garlic peel.
- Peel any stubborn cloves by hand
To peel a small number of garlic cloves
If you want to peel just a few cloves use a softer setting so as not to smash the garlic too much.
- Place 3 -10 cloves of garlic in TM bowl. 3 sec/Speed 4 Reverse Blade.
- Repeat if necessary
- Remove the peel and continue with the recipe.
Thermomix Garlic Paste
Ingredients
- 350 g garlic 6-7 garlic bulbs (peeled)
- 1 teaspoon salt
- 60 g oil not olive oil - vegetable oil
Instructions
Thermomix Method
- Add all ingredients to the TM bowl. Blend 5 sec/Speed 7.
- Scrape down the bowl. Repeat blend 5 sec/Speed 7.
- Pour the garlic paste into a sterilised jar and cover with a thin film of additional oil. Refrigerate.
Food Processor
- Place all the ingredients in the food processor. Process until smooth. You may need to stop and scrape down the bowl periodically.
- Pour the garlic paste into a sterilised jar and cover with a thin film of additional oil. Refrigerate.
Video
Notes
Log in: Then add your own recipe notes below!
Nutrition
Please feel free to leave a comment below so we can chat. I would love to know if you make my paste and whether you think it tastes better than the commercial varieties. Perhaps you have a suggestion for another recipe I should make and share?
Happy cooking
j


Sue turner says
Why not olive oil, just curious
Helen Bird says
Love your recipes.
Always make the garlic paste.
Am about to see if it works the same for Black Garlic.
I’ll let you know!!!
Julie Carlyle says
Thank you so much Helen for coming back and chatting!
I'm so pleased you enjoy my recipes 🙂 I would love to see a pic of the black garlic! WOW!