
Every Australian household has a memory of a classic zucchini slice, but few have truly mastered the art of the perfect, non-soggy square. You've likely been there; you spend your Sunday afternoon grating veggies by hand, only to pull a watery, mushy mess out of the oven. It's a real letdown when you're dreaming of that iconic golden crust and a light, cake-like centre. We all want a reliable, freezer-friendly zucchini slice recipe that the kids will actually eat without hunting for "green bits" every single time!
The good news is that mastering this lunchbox legend is easier than you think, especially when you have a trusted mentor in your corner. I'm going to share my fail-safe secrets for a golden result, whether you're using a traditional oven or the latest Thermomix TM7. We will explore how to achieve that elusive fluffy texture, the best way to "set and forget" the prep using your thermal cooker, and clever tricks to hide extra nourishment for picky eaters. From batch-cooking tips to storage safety, let's turn this staple into your new weeknight superstar!
Key Takeaways
- Stop your slice from turning into a soggy mess by mastering the "95% water" rule for a perfectly firm, golden result.
- Save time and protect your knuckles by using a thermal cooker to prep your vegetables in a fraction of the usual time.
- Follow our fail-safe zucchini slice recipe to achieve that nostalgic, fluffy texture that holds its shape in every lunchbox.
- Learn how to successfully hide extra nutrition for the kids without compromising the classic, cheesy taste they love.
- Follow expert cooling and freezing guidelines to ensure your meal prep stays safe and delicious for the entire school week.
What is Zucchini Slice and Why is it an Aussie Icon?
Ask any Aussie about their favourite childhood school lunch, and they'll likely describe a dense, cheesy square of goodness. If you're curious about the specifics, What is Zucchini Slice? essentially, it's a savoury, egg-based bake that uses self-raising flour to create a unique, cake-like texture. It has rightfully earned the title "King of the Lunchbox" because it's incredibly durable, tastes just as good cold as it does warm, and packs a serious nutritional punch without making a fuss.
One of the reasons this dish remains a household staple is its incredible economy. With zucchini prices sitting around $4.90 per kilogram in August 2026, it's a brilliant way to feed the family on a budget! This zucchini slice recipe relies on basic pantry staples like flour, eggs, and onions, making it the ultimate "thrown-together" dinner when the fridge looks a bit bare. Whether you're serving it for a quick brekkie on the run or a light weekend lunch, its versatility is unmatched. It's the kind of meal that makes domestic life just a little bit easier.
The Anatomy of a Perfect Slice
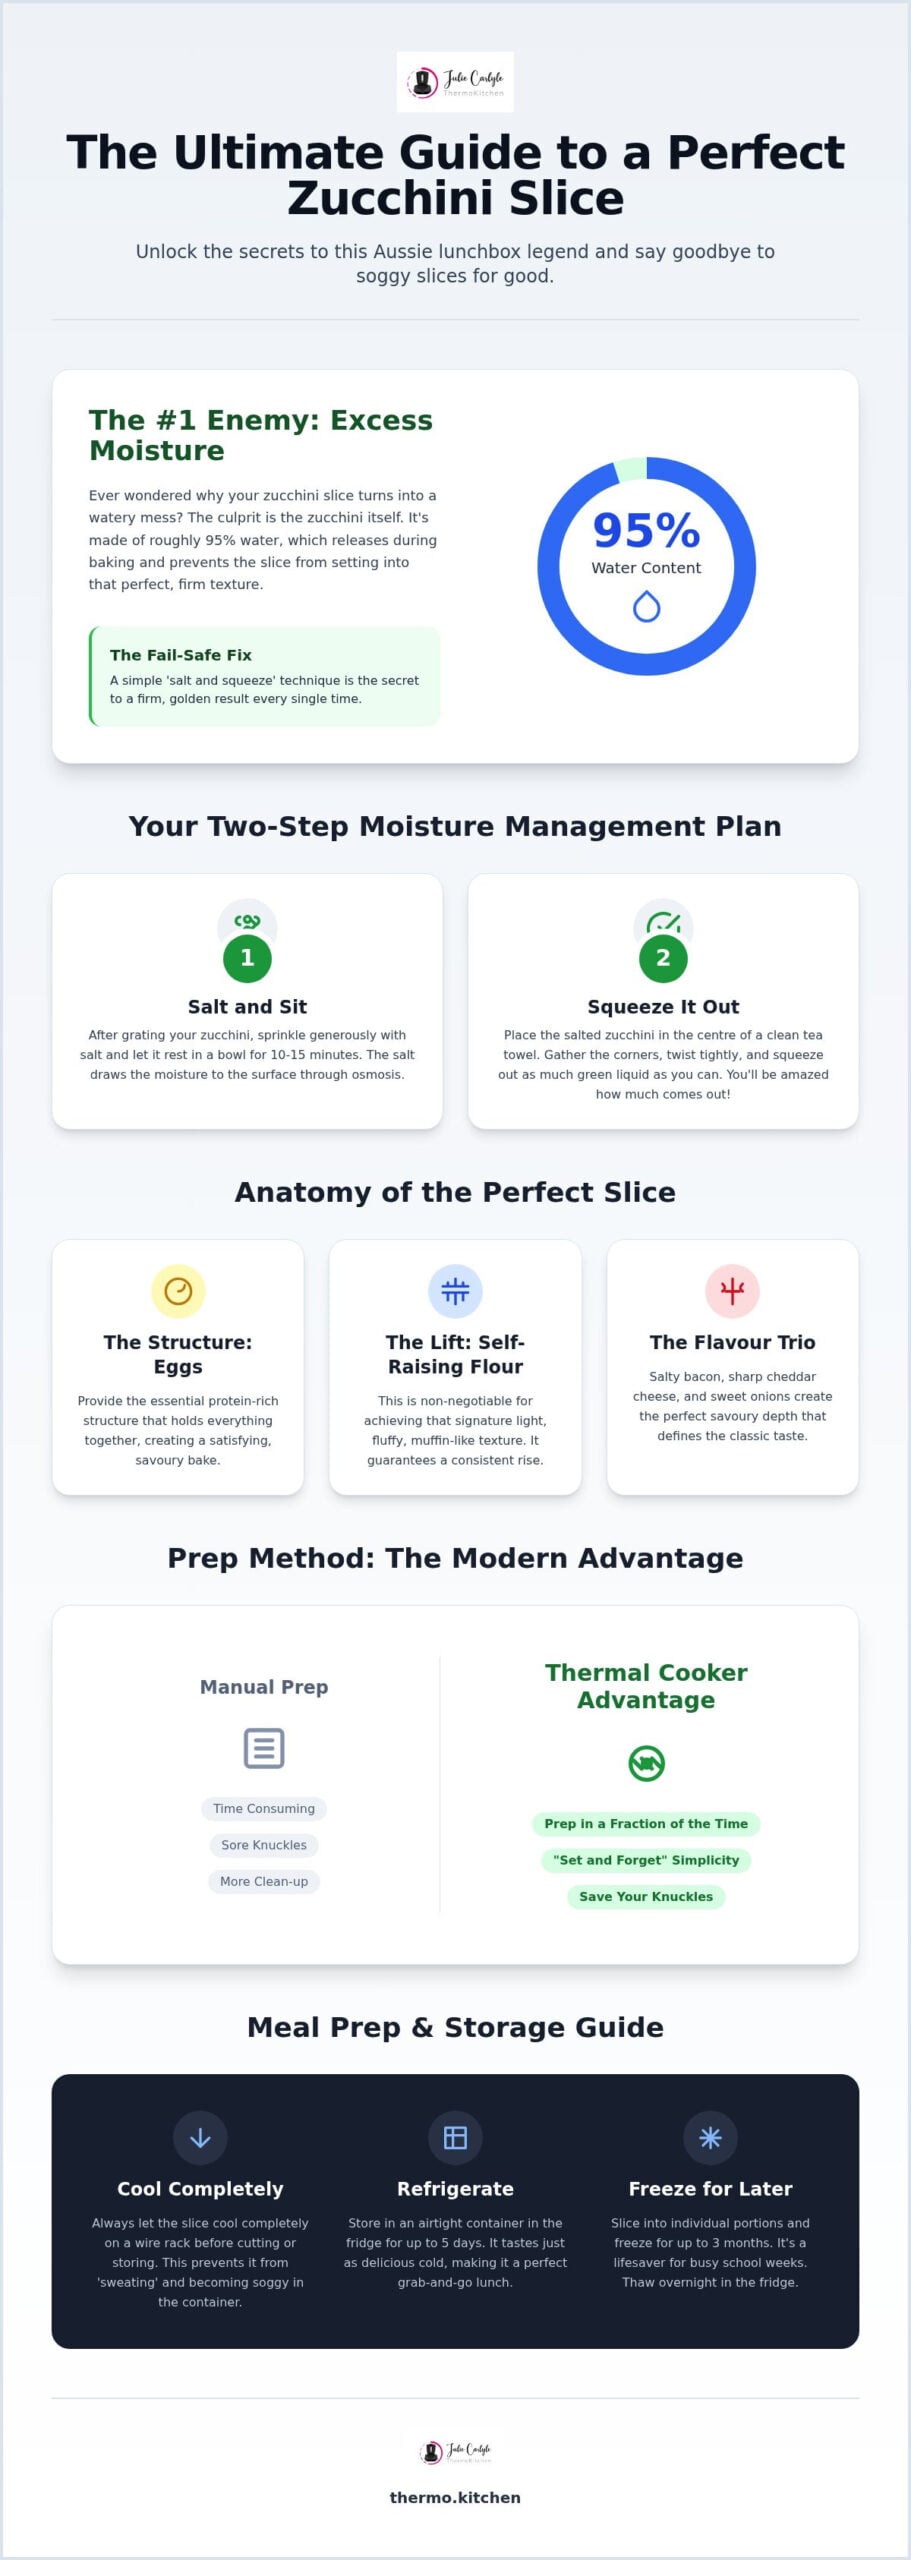
Getting that iconic texture requires a few key players to work in harmony. First, the eggs provide the essential structure and a healthy dose of protein; considering Australians consume about 260 eggs per person every year, we certainly know how to use them! While some recipes suggest plain flour, using self-raising flour is non-negotiable if you want that signature "muffin-like" lift. Without it, your slice can end up feeling a bit too much like a flat omelette. Finally, we have the flavour trio: salty bacon, sharp cheddar cheese, and sweet brown onions. These three ingredients create a savoury depth that balances the mildness of the zucchini perfectly!
A Brief History of the Aussie Bake
This dish really hit its stride in the 1970s and 80s, becoming a permanent fixture in kitchens across the country. It was the era of the "bring a plate" event, where a tray of pre-cut squares was the most reliable contribution you could make. It didn't need a fork, it didn't make a mess, and it was always the first thing to disappear from the table. Decades later, it remains a top choice for busy families because it's so easy to adapt. You can easily toss in some corn or grated carrot to boost the veggie count, making it a practical innovator's dream for hiding greens from picky eaters. It's a reliable friend in the kitchen that never goes out of style!
The Secret to a Firm, Never-Soggy Zucchini Slice
Nothing ruins a picnic faster than a zucchini slice recipe that's turned into a watery, mushy mess. If you've ever pulled a bake out of the oven only to have it collapse into a pile of damp crumbs, you aren't alone! The culprit is almost always the zucchini itself. These green veggies are made up of roughly 95% water, and without proper management, that liquid releases during the bake. This prevents the eggs and flour from setting properly, leaving you with a texture that's more like a wet sponge than a light cake.
To combat this, I always recommend the "salt and sit" method. Once you've grated your zucchini, sprinkle it with a generous pinch of salt and let it rest in a bowl for about ten to fifteen minutes. The salt draws the moisture to the surface through osmosis, making it much easier to remove before you start mixing. It's a simple, proactive step, but it's the real difference between a soggy bottom and a firm, golden square that holds its shape perfectly.
Moisture Management 101
Once your salted zucchini has rested, grab a clean, dry tea towel. Place the shreds in the centre, gather the corners, and twist with all your might. You'll be amazed at how much green liquid comes out! If you're looking for more ways to simplify your kitchen prep, you can find plenty of "dead easy" tips in our Free Thermomix Recipes. Mixing the batter too much develops gluten in a way that makes the final bake tough and rubbery rather than light and airy. Stick to a gentle fold once the wet and dry ingredients meet. Also, aim for coarse shreds rather than a fine mush. Coarse pieces hold their structure, giving the slice that beautiful, rustic texture we all love.
Choosing the Right Flour and Fats
For that classic "Aussie bakery" lift, self-raising flour is your best friend. It provides a consistent, fluffy rise that plain flour mixed with baking powder can sometimes struggle to match. As for fats, vegetable oil is the traditional choice for a moist crumb that stays soft even after a few days in the fridge. However, if you're after a richer, more indulgent flavour, melted butter is a fantastic alternative that adds a lovely golden hue to the finished product. For those needing a gluten-free option, a high-quality GF self-raising blend works well; just ensure you don't skip the moisture-squeezing step, as gluten-free flours are often less forgiving with excess liquid. Getting the ratio of oil to flour exactly right in your zucchini slice recipe ensures your bake is moist enough to enjoy but firm enough to hold in one hand!
Manual Prep vs. The Thermal Cooker Advantage
We've all been there, standing over a box grater with a pile of zucchinis and a healthy fear for our knuckles. While the traditional "knuckle-scraper" method is how many of us first learned a zucchini slice recipe, modern kitchen tech has completely changed the game. Using an all-in-one machine like the Thermomix or Magimix transforms a tedious chore into a five-second task. Instead of manual labour, you get a perfectly even distribution of ingredients. This ensures every single square has the right balance of cheese, bacon, and veg without any clumps of flour hiding in the corners.
The "one-bowl" benefit is a total lifesaver for busy households. You don't need separate chopping boards for the onions, extra bowls for the eggs, or messy graters for the cheese. Everything happens in one place, which means less clutter on your benchtop. For parents dealing with fussy eaters, the Thermomix TM7 is the ultimate "stealth veg" tool. You can dice the zucchini and other vegetables so finely that they practically disappear into the batter. It's a brilliant way to boost the nutrition of a zucchini slice recipe without the kids hunting for "green bits" at the dinner table.
The 5-Second Zucchini Hack
To get that perfect texture without turning your vegetables into a watery soup, speed is everything. In a thermal cooker, a quick burst on speed 4 or 5 for about five seconds gives you a beautiful shred that holds its shape. If you're using the Thermomix TM7: The Ultimate Kitchen Revolution Guide, you'll know that the precise stirring settings are designed to protect your ingredients. This means you can mix in your diced bacon on a reverse setting without it being pulverised into a paste. You keep those lovely, salty chunks intact while the machine does the heavy lifting for you!
Cleaning Up: Thermal Cooker vs. Traditional
Let's be honest, the worst part of any Sunday meal prep session is the mountain of washing up. A traditional bake usually leaves you with a sticky grater, multiple bowls, and a messy whisk to scrub. With a thermal cooker, the "pre-wash" function is a genuine gift from the kitchen gods! Once your slice is in the oven, just add some water and a tiny drop of detergent to the bowl. Run the short cleaning cycle, and the sticky egg batter is gone in moments. It significantly reduces your post-cooking workload, leaving you more time to enjoy a cuppa while the house fills with that amazing cheesy aroma.
Step-by-Step: The Best Zucchini Slice Recipe
Let's get stuck into the kitchen! Before you start mixing, preheat your oven to 180°C (160°C fan-forced) and grease a standard lamington pan, roughly 20cm x 30cm, with a bit of butter or oil. Lining the base and sides with baking paper is a smart move; it makes lifting the whole slice out for portioning much easier once it has cooled. This zucchini slice recipe is all about the prep, so having your station organised from the start makes the whole process a breeze.
Ingredients You'll Need
- 5 to 6 large free-range eggs (these give the bake a rich golden colour).
- 1 cup (150g) self-raising flour, sifted for maximum fluffiness.
- 375g to 400g zucchini (about 2 to 3 medium ones), grated and squeezed dry.
- 200g rindless bacon, finely diced.
- 1 large brown onion, finely chopped.
- 1 cup (approx. 120g) grated cheddar cheese.
- ¼ cup vegetable oil or melted butter.
- A pinch of salt and cracked black pepper to taste.
With zucchini prices at major supermarkets around $0.49 per 100g in August 2026, this is an incredibly cost-effective way to feed the family. A carton of 12 free-range eggs currently sits at about $6.40, making each slice a budget-friendly powerhouse of nutrition.
The Method: From Bowl to Benchtop
Aeration is the secret to a light crumb. Whisk your eggs and oil in a large bowl until they are slightly frothy; this prevents the final result from feeling like a dense brick. Sift in the flour and whisk until the batter is smooth before gently folding in your zucchini, bacon, onion, and cheese. If you're using a thermal cooker, you can handle the chopping and mixing in one go, but remember to use the reverse setting to keep the bacon pieces intact.
To achieve that professional "Golden Top" finish, sprinkle a little extra cheese or a light dusting of paprika over the surface before it goes into the oven. Bake on the middle rack for 35 to 40 minutes. You'll know it's ready when the top is a deep golden brown and a skewer inserted into the centre comes out clean. Let it sit in the pan for at least 10 minutes before moving it to a wire rack.
Variations for Every Diet
Don't be afraid to innovate based on what's in your crisper drawer! For a vegetarian version, swap the bacon for sun-dried tomatoes or an extra teaspoon of smoked paprika to maintain that savoury depth. If you're after a high-protein boost, adding a small tin of well-drained corn or two extra egg whites works wonders. For a low-carb alternative, you can swap the flour for almond meal, though you should adjust the moisture by squeezing the zucchini even more thoroughly. For more family-friendly inspiration that makes the most of your kitchen tools, explore the ThermoKitchen Cookbooks for a range of lunchbox-friendly ideas.
Storing, Freezing, and Serving Your Zucchini Slice
Once your bake is out of the oven, the hardest part is waiting for it to cool! Proper cooling is vital for maintaining that firm texture we worked so hard for in our zucchini slice recipe. If you pop a warm slice straight into a plastic container, the steam will be trapped, leading to a "sweating" effect that turns the crust soggy. Instead, let it sit in the pan for 10 minutes, then move the whole block to a wire rack. According to Australian food safety guidelines, you should aim to cool hot food from 60°C to 21°C within two hours, and then down to 5°C within a further four hours before it hits the fridge.
For a standard school week, you can safely store your pre-cut squares in an airtight container in the fridge for two to three days. It's a brilliant "grab and go" option for busy mornings. When it comes to reheating, avoid the "soggy microwave" trap if you can. While a microwave is fast, it tends to make the egg-based batter rubbery. For the best result, a quick five minutes in an air fryer or a moderate oven will bring back that glorious crispy edge and golden top.
The Lunchbox Strategy
Most Aussies agree that a zucchini slice is actually better eaten cold or at room temperature. This makes it the ultimate durable lunchbox addition. To keep things interesting for the kids, try pairing a square with a simple side salad of cherry tomatoes and cucumber, or a dollop of fruit chutney or tomato relish. If you're looking to expand your repertoire of school-friendly snacks, you can find plenty of inspiration in the Essential Thermomix Cookbooks for Every Home Cook. Our "Family Meals" cookbook is particularly popular for those looking to keep the lunchbox rotation fresh and healthy. Having a few reliable, veggie-packed options on hand makes the Sunday meal prep session feel much less daunting!
Freezing for Future "You"
If you've made a double batch, the freezer is your best friend. I recommend the "Flash Freeze" method: place individual portions on a baking tray lined with paper and freeze them for an hour until firm. Once they are "flash frozen," you can transfer them into a zip-lock bag or a container without them sticking together! This allows you to pull out exactly what you need for a single lunchbox. Use high-quality freezer wrap or reusable silicone bags to prevent freezer burn; your slice will stay delicious for up to three months. You should never freeze a slice that hasn't completely cooled, as the residual heat creates ice crystals that destroy the fluffy interior texture. With a bit of planning, your favourite zucchini slice recipe can provide weeks of effortless, nutritious meals.
Master Your Lunchbox Prep Today
You are now ready to conquer the kitchen with a zucchini slice recipe that delivers a golden, fluffy result every single time. By mastering the art of squeezing out that pesky zucchini water and letting your thermal cooker handle the tedious prep, you've turned a household chore into a simple win. Whether you're filling lunchboxes for the week or looking for a quick dinner, these squares are sure to be a hit with the whole family. It's all about having the right techniques and a bit of confidence in your equipment!
If you loved this guide, you will find even more inspiration in our collection of cookbooks. Each recipe is created by Julie Carlyle, an authorised Thermomix consultant, and rigorously tested in real Australian family kitchens. They are perfectly optimised for your Thermomix or Magimix machine to make every meal feel "dead easy" and delicious. Browse our range of ThermoCooker Cookbooks for more family-favourite recipes!
Go on, get that oven preheated and enjoy the satisfaction of a perfectly set, never-soggy slice. You've got this!
Frequently Asked Questions
Can I make zucchini slice without bacon?
You can absolutely make a meat-free version of this zucchini slice recipe! Simply swap the bacon for 100g of crumbled feta, some sun-dried tomatoes, or a teaspoon of smoked paprika to keep that savoury depth. This is a great way to use up whatever is in your fridge while keeping the meal vegetarian. Just ensure you balance the salt levels, as feta can be quite salty compared to rindless bacon.
Why is my zucchini slice soggy in the middle?
A soggy centre usually means there was too much moisture left in the vegetables. Since zucchinis are 95% water, you must salt and squeeze them thoroughly with a clean tea towel before mixing. Another reason could be the oven temperature; if it's too high, the outside browns before the middle sets. Try lowering the heat slightly and baking for an extra five minutes if your skewer test comes out sticky.
Can I freeze zucchini slice for school lunches?
Yes, this bake is exceptionally freezer-friendly for up to three months. For the best results, use the "flash freeze" method by placing individual squares on a tray until firm before moving them to a zip-lock bag. This prevents them from sticking together. You can pop a frozen slice straight into a school lunchbox in the morning, and it will be perfectly defrosted and ready to eat by the first bell!
What can I use instead of self-raising flour?
If you've run out of self-raising flour, you can easily make your own using plain flour and baking powder. The standard ratio is two teaspoons of baking powder for every one cup (150g) of plain flour. Sift them together well to ensure the leavening agent is evenly distributed. This ensures your zucchini slice recipe still gets that essential "muffin-like" lift and fluffy texture that makes it so satisfying to eat.
Is zucchini slice healthy for toddlers?
Zucchini slice is a fantastic option for toddlers because it's soft, easy to grip, and packed with nutrition. It's a "complete" meal in one square, providing protein from eggs and vitamins from the hidden vegetables. Many parents use a thermal cooker like the TM7 to dice the veggies extra fine, making it much harder for picky little ones to spot the greens. It's a reliable winner for fussy eaters!
How do I reheat zucchini slice so it stays crispy?
To keep your slice crispy, skip the microwave and use an air fryer or oven instead. Reheating at 180°C for about five to eight minutes will crisp up the edges and refresh the cheesy top without making the eggs rubbery. If you're in a rush, a sandwich press also works brilliantly! Just place a piece of baking paper on each side of the slice to prevent the cheese from sticking to the plates.
Can I add other vegetables like carrot or corn?
You can definitely add other vegetables like grated carrot, corn, or even finely chopped capsicum. Carrot and corn are classic Aussie additions that add a lovely sweetness to the savoury base. Just remember that carrots also hold a fair bit of moisture, so give them a quick squeeze along with the zucchini. This is a brilliant way to "clean out the crisper" at the end of the week.
Do I need to peel the zucchini before grating?
There is no need to peel your zucchinis before grating. The skin contains most of the fibre and nutrients, and it provides those beautiful flecks of green colour that make the slice look so appetising. Just give them a good wash under cold water to remove any grit. If you're using a thermal cooker, simply cut the ends off and let the machine handle the rest in seconds!




Leave a Reply