• Skip to primary navigation
  • Skip to main content
  • Skip to primary sidebar
ThermoKitchen
  • Recipes
  • Shop
  • About Me
  • Tips & Tricks
  • Chat Now
menu icon
go to homepage
  • Recipes
  • Shop
  • About Me
  • Tips & Tricks
  • Chat Now
subscribe
search icon
Homepage link
  • Recipes
  • Shop
  • About Me
  • Tips & Tricks
  • Chat Now
×
Home » All Recipes » Thermomix Basics

Perfect Asian Sticky Rice - Thermomix

Published: Jul 19, 2019 · Modified: Mar 8, 2025 by Julie Carlyle · This post may contain affiliate links · 6 Comments

Jump to Recipe - Print Recipe

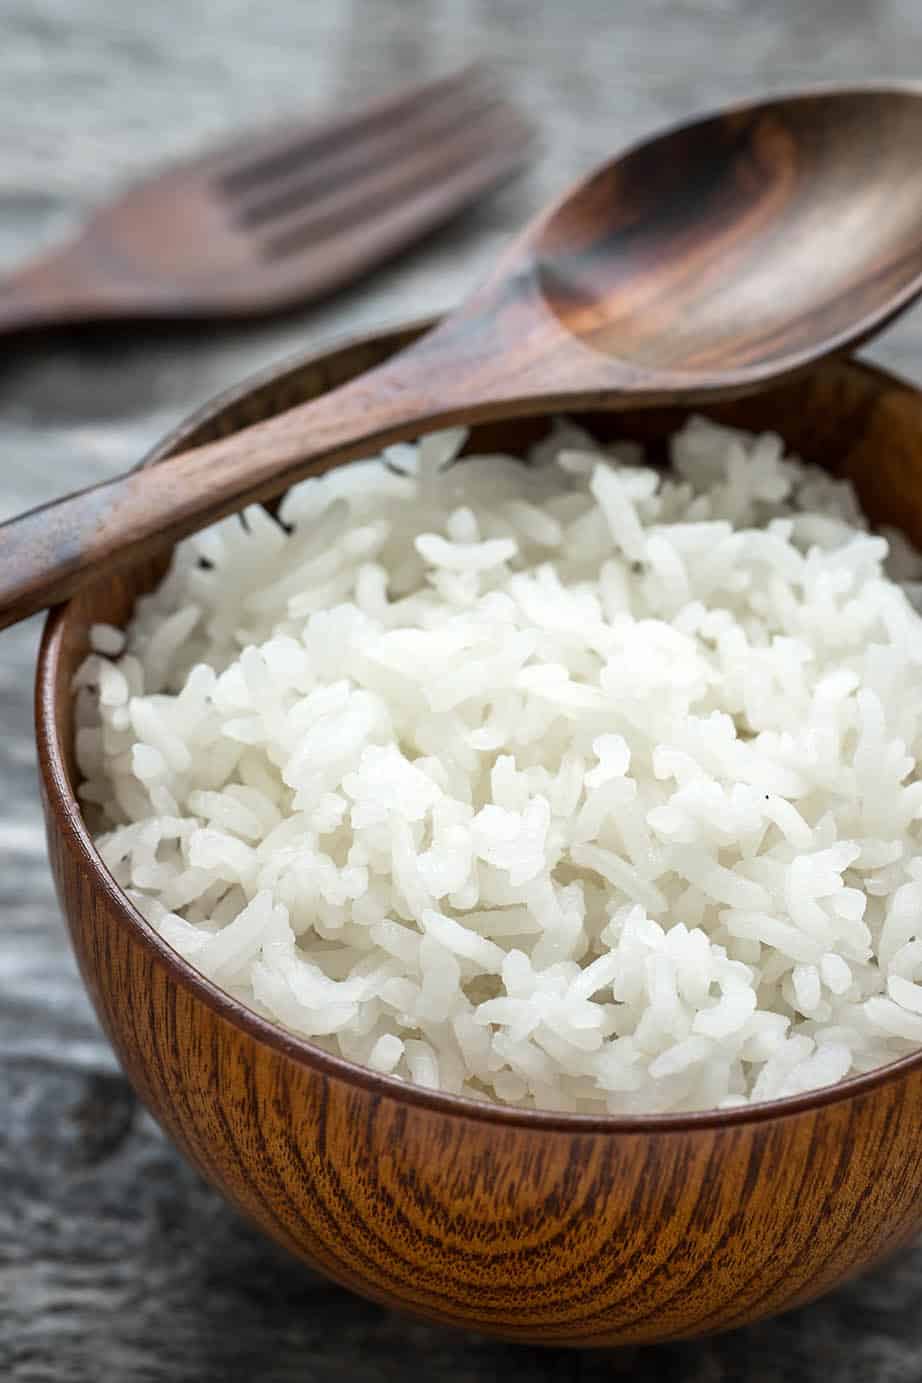
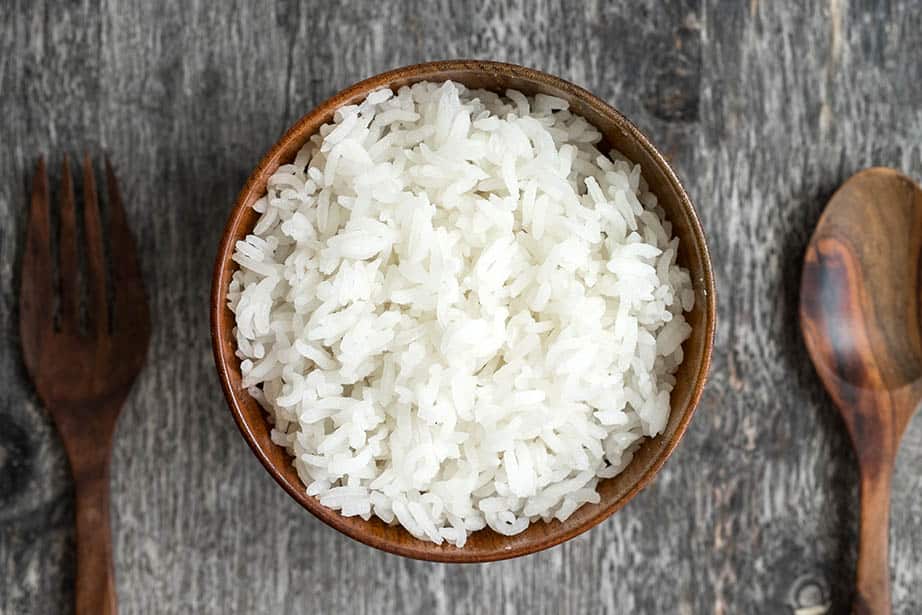
Perfect Asian sticky rice every time! This Thermomix recipe guarantees success with a "no-hands" approach to cooking!

White sticky rice in a wooden bowl grey background

I have just launched "An Asian Banquet" Thermomix cookbook. Rather than take up valuable pages in the book explaining how to make the perfect rice accompaniment to those dishes I decided I would share the recipe online. That way I could add another main meal or dessert to the cookbook.

So it took me a little while to perfect sticky rice in the Thermomix but now that I have I'm sharing my tips and technique with everyone.

How to Make the Perfect Asian Sticky Rice

  1. Chose the correct rice. Sticky rice is a different type of grain to other styles of rice. It's long-grain, glutinous rice. An example to look out for is Jasmine rice. If you can't find Jasmine rice look for any rice which is described as glutenous white rice.
  2. Wash the rice under running water for 1 to 2 minutes whilst stirring the rice gently with fingers. This allows the excess starch to be removed so the end result doesn’t become too gluey. It's not necessary for the water to run clear.
  3. Allow the rice to sit in a bowl of water for at least 30 minutes prior to steaming.
  4. The rice should be steamed more than boiled.

If you enjoy Asian recipes why not take a look at "An Asian Banquet"  This Thermomix cookbook contains 33 recipes from 8 Asian countries.

Cover of An Asian Banquet ebook on an iPad An Asian Banquet Cookbook Hardcopy Cover page with Laksa on the front

Let’s Connect!

Thank you for coming to visit my site. I truly hope you enjoy all of my recipes. Don’t forget to tag me on social media if you make any Thermokitchen recipes! I love chatting and seeing your pictures. #Thermokitchen

FACEBOOK
TWITTER INSTAGRAM  PINTEREST

Overhead shot White sticky rice in a wooden bowl grey background

How to use your left-over rice

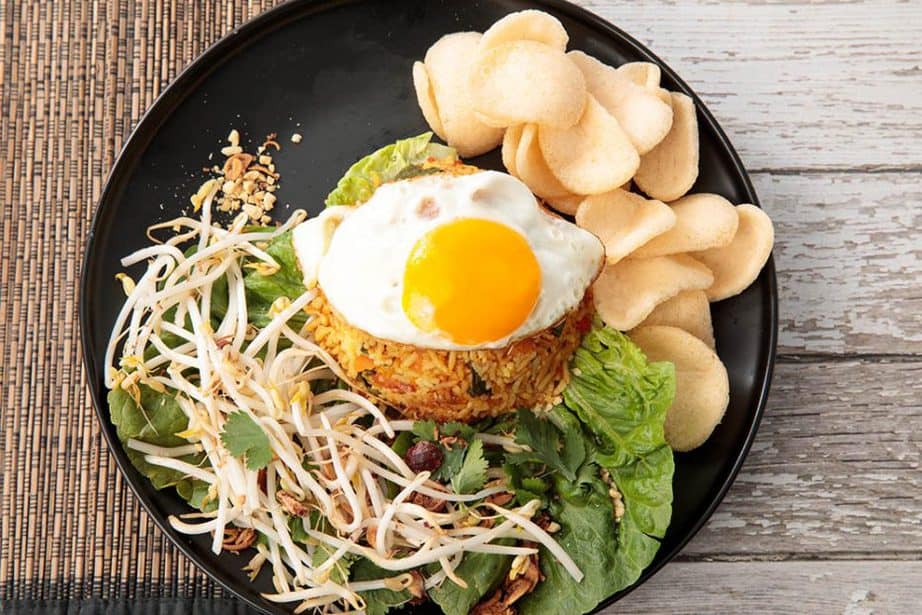
Once your rice has been refrigerated overnight it is perfect for use in Nasi Goreng or fried rice. Take a look at this delicious recipe.

Thermomix Nasi Goreng
White sticky rice in a wooden bowl grey background

Sticky Rice Thermomix

Julie Carlyle
Using this rice cooking method you will make the perfect sticky rice in your Thermomix every time. Serve this rice alongside your favourite Asian dishes.
5 from 3 votes
Print Recipe
Prep Time 0 minutes mins
Cook Time 20 minutes mins
Soaking 30 minutes mins
Total Time 30 minutes mins
Course Lunchbox
Cuisine Balinese, Chinese, Korean, Malaysian, Singapore, Thai
Servings 6 serves
Calories 183 kcal

Equipment

  • Thermomix

Ingredients


  • 300 g Jasmine rice
  • 1000 g water warm tap
  • ½ teaspoon salt

Instructions
 

  • Place the rice in the internal steam basket. Wash well under running water for 1 - 2 minutes.
  • Half fill a ThermoServe with water and place the internal steam basket with rice in the ThermoServer.
  • Allow the rice to soak for 30 minutes. (Rice can be left for up to 2 hours).
  • Add 1000g water and salt to TM Bowl
  • Place the internal steam basket with rice into TM bowl. Cook 20min/Varoma/ Speed 4.
  • Use rice as required.

Notes

Left-over rice is great the next day as fried rice or Nasi Goreng.

Nutrition

Calories: 183kcalCarbohydrates: 40gProtein: 4gFat: 1gSaturated Fat: 1gSodium: 205mgPotassium: 58mgFiber: 1gSugar: 1gCalcium: 19mgIron: 0.4mg
Keyword Sticky Rice, Thai rice, Thermomix recipe, Thermomix rice
Tried this recipe?Let us know how it was!

If you make my recipes please let me know what you think in the comments section below. I would also love to hear what other recipes you’re interested in making.

P.S Rating the recipe lets others know if they should make the dish 🙂


More Thermomix Basics

  • Vegetable Puree Thermomix Baby Food in a bowl on a wooden table
    Vegetable Puree Thermomix
  • Thermomix Shortcrust Pie Pastry ready for baking
    Thermomix Shortcrust Pastry
  • Thermomix Bread Recipe sliced on a tea towel and showing a white basket and bread tin in the background.
    Easy Thermomix Bread Recipe
  • Boiled Spaghetti in a boil with seasoning on a white background
    Cooking Boiled Spaghetti Pasta Thermomix
83 shares
  • Facebook
  • X
  • Flipboard
  • Threads
  • Bluesky

Reader Interactions

Comments

  1. Sonja says

    February 28, 2024 at 9:10 pm

    5 stars
    Hi Julie, thanks for your recipe.
    I still only have the TM 21. What do you think, should I use the normal instructions for cooking rice with it, only add the soaking, and the Varoma level?
    Btw, what is the difference between cooking with the top heat (100° Celsius) and the Varoma level?
    Thank you for any answer
    Sonja from Germany

    Reply
    • Julie Carlyle says

      March 16, 2024 at 8:46 pm

      Hi Sonja
      It is so lovely to have a German reader and a TM21 user too!! Very special!! I have never used the TM21 so I don't know what the top temperature is for that machine. I would just stick with your usual method but add the sticky rice ingredients where it seems to make sense. I hop that helps. I have only seen pictures of the TM21 so I know I am not much help to you. I'm sorry.
      Happy Cooking
      Julie

      Reply
  2. Sam says

    April 27, 2022 at 7:22 pm

    Do you leave the measuring cup in or out

    Reply
    • Julie Carlyle says

      May 03, 2022 at 10:47 am

      Hi Sam
      It works fine either way but I tend to leave it in so there aren't any splatters.
      Happy Cooking
      J

      Reply
  3. Karen Cappiallo says

    March 04, 2020 at 9:58 pm

    5 stars
    I thought that there wasnt enough water at first, but it worked perfectly

    Reply
  4. Isabelle J says

    November 19, 2019 at 8:14 pm

    5 stars
    Great recipe

    Reply

Leave a Reply Cancel reply

Your email address will not be published. Required fields are marked *

Recipe Rating


Primary Sidebar

Hi, I'm Julie, a recipe developer, published cookbook author, and registered nutritionist. My first love has always been cooking and food. ThermoKitchen is where my love of food combines with a "lazy streak" as I utilise my favourite appliance, the Thermomix! I discovered Thermomix in 2014 and loved it so much I became a consultant for the brand.

More about me →

Popular

  • Pink iced cinnamon scroll Easter Bunny made in the Thermomix on a pastel plate background.
    Bunny Cinnamon Scrolls Thermomix

  • Apple coleslaw in a bowl and a hand adding slivered almonds
    Thermomix Apple Slaw

  • NEW Thermomix TM7 on a wooden bench
    Thermomix TM7 Buy Online

  • Thermomix Cornish Pasties on a white background
    Cornish Pasties Recipe Thermomix

Footer

↑ back to top

About

  • Privacy Policy

Newsletter

  • Sign Up! for emails and updates

Contact

  • Contact

Copyright © 2016-2025 ThermoKitchen

83 shares
  • 47