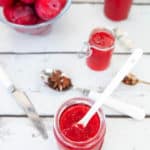
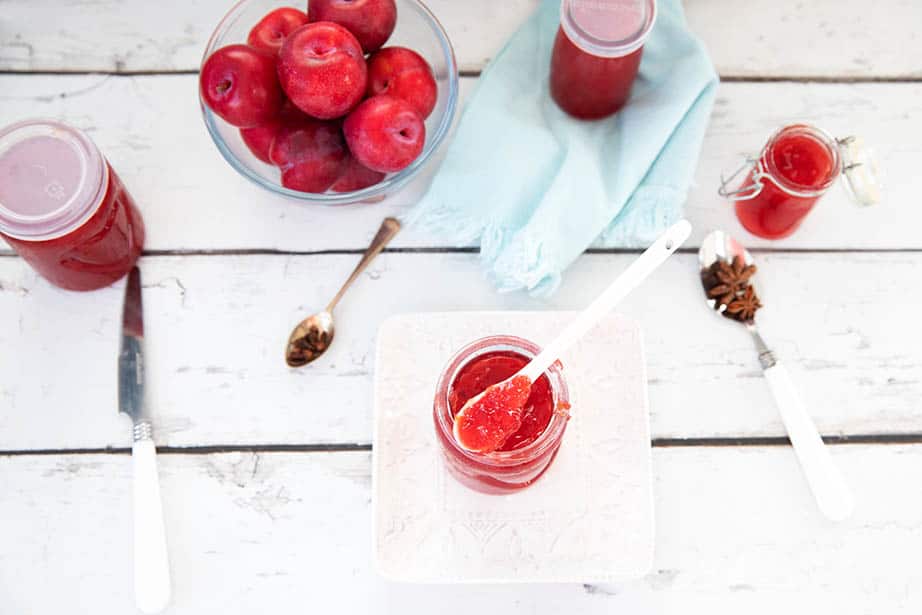
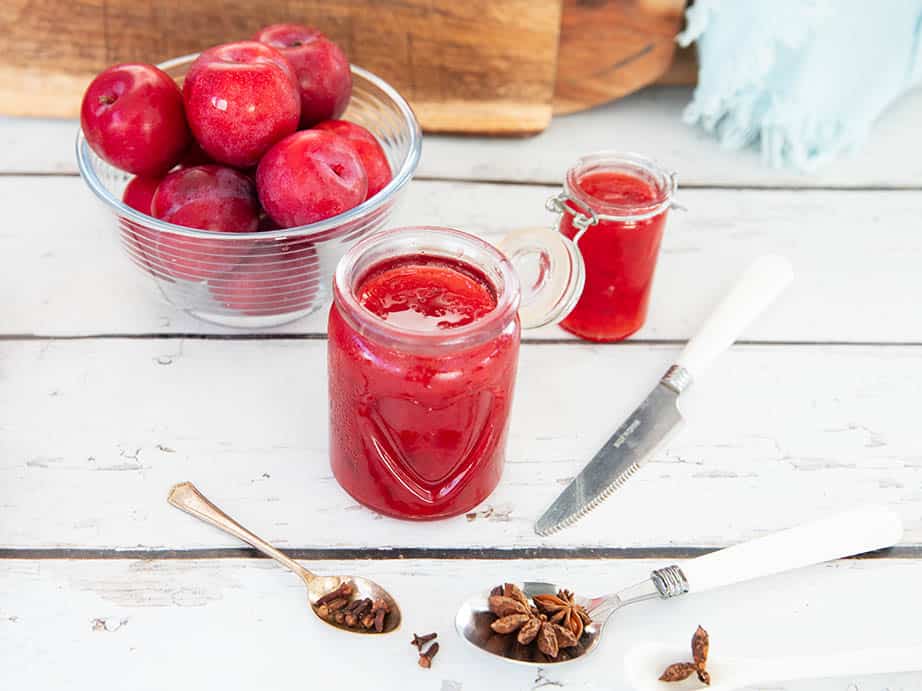
Sweetly spiced plum jam made quickly in the Thermomix to preserve the vibrant colour and fruit flavours.
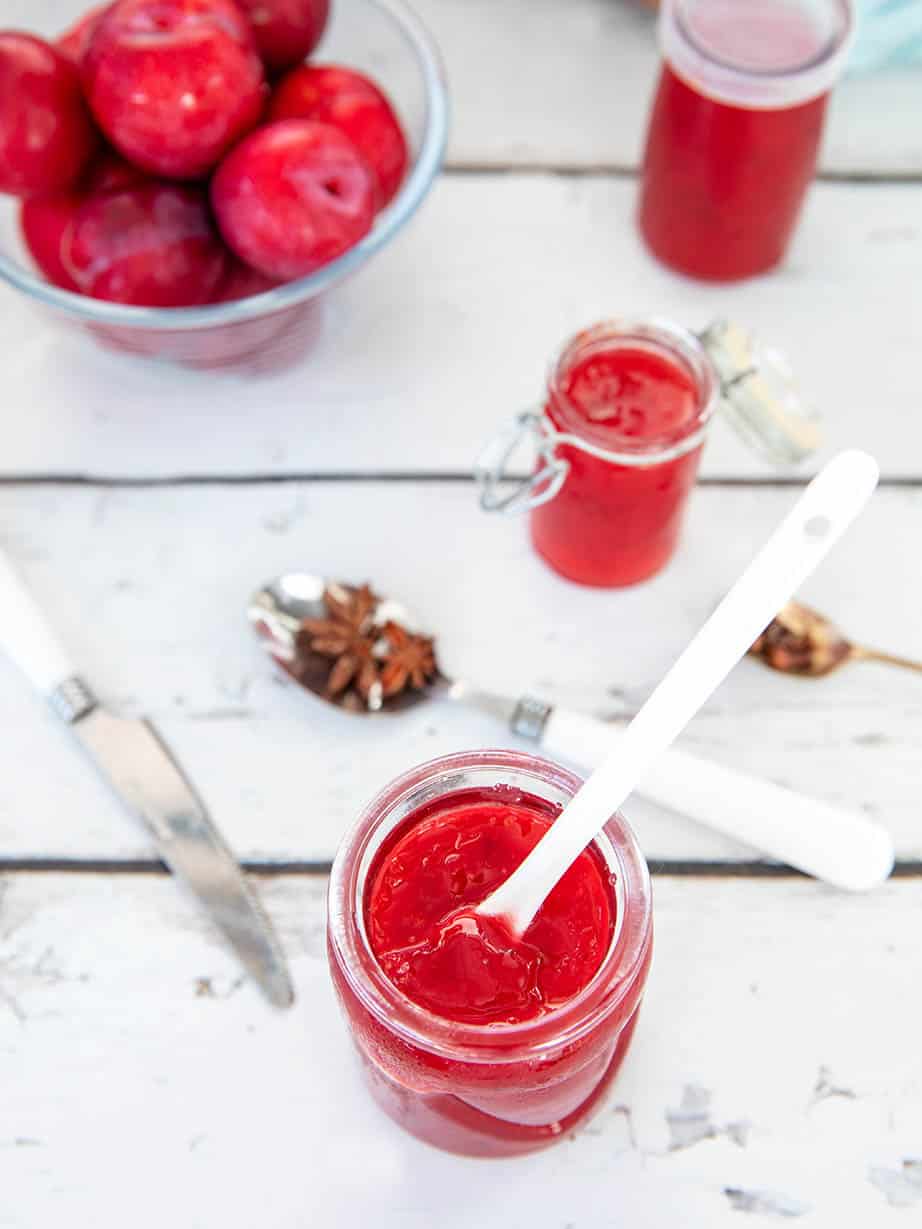
I had to call this recipe "Sugar Plum Jam" because it reminds me of sugar plum fairies and everything sweet, girly, and whimsical. I googled "Sugar Plums" and found that there isn't a variety of plum called sugar plum. The term came about as a Christmas fantasy ingredient. So, given that sugar plums don't really exist and plums and sugar make jam... I'm calling my recipe "Sugar Plum Jam".
Jam Ingredient Tips
The beauty of homemade jam is you can modify it to your tastes once you understand the purpose of the ingredients. My plum jam contains these ingredients;
- Sugar - for sweetness, preserving the jam and allowing it to set
- Star Anise - a little earthy spice
- Cloves - a touch more depth in the spice
- Plums - fruit goodness, and pectin to help the jam set naturally
- Green Apple - added to ensure enough pectin to allow the jam to set naturally
- Lemon - cut through the sweetness and adds some tartness to the jam. Provides pectin to help the jam set. Also lowers the acidity of the jam which helps the gelling process. Plus helps maintain the gorgeous colour of the jam.
Feel free to adjust the lemon to your personal taste. I like my jam a little on the tart side so I used the juice of a whole lemon. If you would prefer a hint of lemon only then just use the lemon zest. There are enough other sources of pectin in this jam to allow it to set naturally with a smaller amount of lemon juice.
What is Pectin
Pectin is a naturally occurring starch that develops in the cell walls of fruit as it ripens. This starch acts as a gelling agent that allows the fruit to reach the desired jam texture. Each fruit has varying levels of naturally occurring pectin so it's important to have an understanding of the available pectin in fruit when making jam.
High Pectin Fruits for Jam
Fruits that are naturally high in pectin will need only sugar and a little lemon juice to make a delicious jam.
- Green apple
- Quinces
- Plums (under ripe)
- Lemons
- Citrus Peel
Medium Pectin Fruits For Jam
These fruits may have enough pectin to set without the addition of pectin or another fruit. To be on the safe side its best to pair these fruits with additional high pectin fruits.
- citrus fruit
- red apples
- plums (ripe)
- apricots
- raspberry
- blueberry
- blackberries
- grapes (unripe)
Low Pectin Fruits For Jam
When using fruits which are low in naturally occurring pectin you will always need to consider how you will achieve a gel. This may be by pairing the fruit with a high pectin "friend" or using a jamsetting sugar. These sugars are available in the supermarket and are a combination of sugar and extracted pectin at a ratio to ensure your jam sets.
- cherry
- fig
- grapes (ripe)
- nectarine
- strawberry
- nectarine
- pear
- peach
I have sucessfully made delicious jam from low pectin fruit but it does take a bit of practice. Knowing how you are going to achieve a gel is the main trick. I like to add complimentary fruits which are higher in pectin but I also sometimes cover myself by adding a little bit of jamsetter.
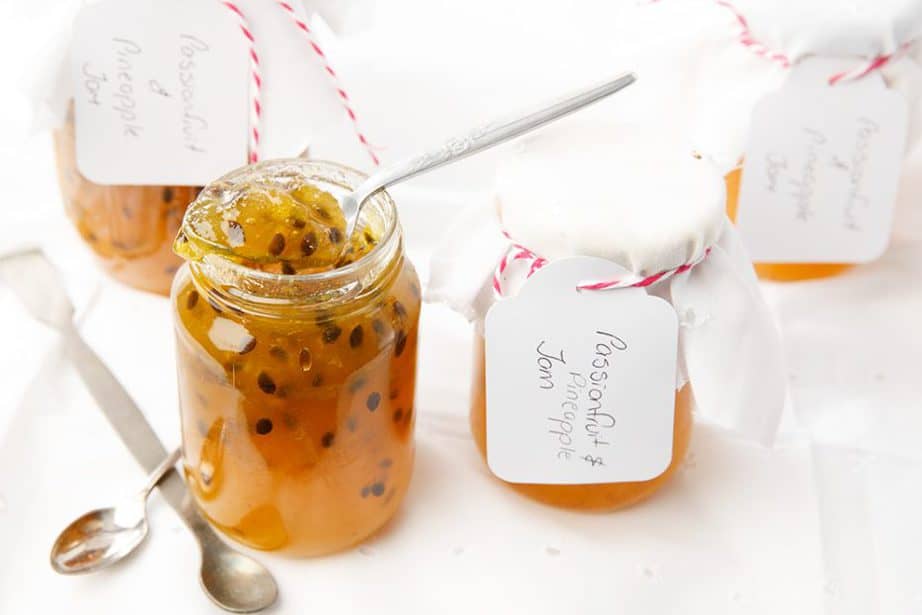
Take a look at this delicious Pineapple and Passionfruit Jam recipe I shared a few years ago. The best thing about making your own jam is being able to have a world of flavours on yout toast or with your scones.
Buying store bought jams means being stuck with the same boring fruit flavours and the same consistency. When you make your own you can mix things up a bit, add spices and other flavours.
Let's Connect!
Would you mind tagging me on social media if you make any of my Thermokitchen recipes! Chatting and seeing your pictures really makes my day. #Thermokitchen
I would love to share more delicious recipes with you. For Thermomix recipe inspiration LETS CONNECT on;
FACEBOOK
TWITTER INSTAGRAM PINTEREST
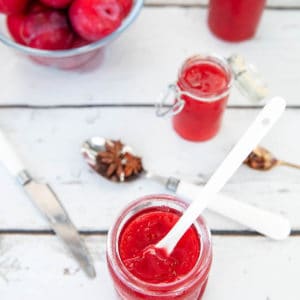
Sugar Plum Jam Thermomix
Equipment
- Varoma
Ingredients
- 500 g plums mine were a little under ripe
- 100 g green apple cut in quarters skin on
- 1 lemon juice only
- 2 cloves
- 1 star anise
- 450 g white sugar
Instructions
- Prepare plums by cutting in half and removing and discarding the seed.
- Place plums (with skin still on) in TM bowl.
- Add the green apple and lemon juice to TM bowl. Blend 5 sec/Speed 5.
- Scrape down the bowl.
- Add clove, star anise and sugar to the TM bowl. Combine 3 sec/Speed 4.
- Cook 25 min/Varoma/Speed 1 (MC OUT)
- Once the jam begins to boil add the internal steam basket to the lid to prevent splatters.
Preparing Jars whilst Jam cooks
- Wash jars and lids in warm soapy water whilst the jam is cooking.
- Place the prepared jars and lids upside down on the deep Varoma dish.
Sterilise Jars & Continue Cooking
- Remove the basket from the top on the TM bowl.
- Add the Varoma with jars to the top of TM bowl.
- Cook the jam for a further 6 minutes. 6 min/Varoma/Speed 1.
Bottling
- Use a tea towel to turn the sterlised jars right side up.
- Carefully pour the hot jam into the hot jars until almost full. Leave approximately one centimeter from the top.
- Screw the sterilised lids on the jars with the help of a towel.
- The lid should be added to the jar immediately to prevent the chance of introducing bacteria and the jam spoiling.
- Allow the jam to cool on the bench. After a few minutes you should start to hear the lids suction into place. This popping sound is the vacuum being formed inside the jar.
Notes
Log in: Then add your own recipe notes below!
Nutrition
I hope you enjoy this recipe! Have a wonderful day and please don't forget to come back and let me know how you went making my recipe.
Happy Cooking
j


Donns says
Beautiful Jam, very tasty
Julie Carlyle says
Hi Donns,
I am so pleased you enjoyed this jam, it's a personal favourite of mine because you just don't get interesting flavours any more.
Thank you for coming back and leaving your lovely message.
Julie xx
Chris Rose says
First time making jam in TM5. So happy 😊 Lovely colour and consistency and tastes fantastic . Just wondering if recipe can be doubled up?
Thank you
Julie Carlyle says
Hi Chris
I am so pleased you enjoyed the jam recipe. Thank you for coming back and leaving a lovely message.
Jam is one of those tricky things to get right. The mixture has to reach and stay at a certain temperature for a period. Changing the quantities will affect the cooking time and is likely to affect whether or not it sets. Also, I'm not sure if the extra ingredients would fit in the TM Bowl without boiling over. For these reasons, I think it's safer just to make two separate batches of jam.
Happy Cooking
Julie xx
Shirley Prescott says
Absolutely perfect easy to follow recipe. Jam is lovely consistency and beautiful colour and flavour. So delicious. Thanks for yet another divine recipe.